Backcountry Navigation 101

Backcountry Navigation 101

I’ll start out with some harsh words, as subtlety was never my strong suit: There is no excuse for not knowing exactly where you are in winter backcountry terrain. None.

Proper navigation is essential to planning backcountry ski tours—not just to reach your objective, but to avoid the mountain hazards. Simply following existing tracks, going off memory from previous trips, or chasing the blue navigation dot on a digital device can end in disaster for so many reasons. (The recent tragedy in the Alps along the Haute Route is a sad example of compounding decision-making errors that led to catastrophe.)

To prepare properly, you need to do your homework, gain the navigation skills, and learn to use the tools. Ronnie Coleman, the famous bodybuilder has a classic quote that applies to this: “Everybody wants to be a bodybuilder, but ain’t nobody want to lift some heavy-ass weights.” We have so many tools (maps, compass, altimeter, and watch) and backup tools (smartphone with digital maps and terrain photos) and backups for our backups (mini external battery pack). But to stop yourself from stumbling off a cliff or triggering an avalanche in poor visibility, you need to be able to pinpoint your position in the terrain. Scared yet? I guess if you are off route you can always hit SOS on your inReach (you do have one, right?) and wait for a rescue… Surely someone will find you within a few days.

Task No. 1: Learn to read maps well. This includes paper and digital maps. The best way to learn how to read a map is to navigate in terrain that you already know well. You already know what your local hills look like in person, so envision yourself in those places on the topo map. Make sure you know which cliffs show up on the map and which ones don’t, what terrain is manageable and what isn’t, and then notice how different it looks on paper than in real life. Do this on different scale maps in as many different places as you can. Pretty soon you will train yourself to know the limits of what maps can tell you about the real world. 

Once you’ve mastered reading maps, use them every single time. As any chef will tell you, the finely tuned knife is the one that cuts the best. Reading maps and staying located is no different. But this doesn’t mean you need to stare at your map constantly; look at it with a purpose. Ask yourself, where am I now? What direction am I going? What is coming up? What kind of terrain is on the way to the next obvious terrain marker? How far is it until the next terrain marker? The beauty of the digital map is that you can easily check your place on the map from your pocket. Take a quick glance at a few key points to set yourself up so you know how to get where you need to go next, and how long it will take you. Ideally you would have prepared at home by marking a few key waypoints along your route. What makes the best waypoint? Usually it’s obvious terrain markers that you can distinguish no matter the weather. Think summits, cols, creeks, cliffs, lakes, etc. Identifying these before you go allows you to move more quickly without looking at your map.

Task No. 2: Learn to use your altimeter. Now we need to combine this all with your other essential tool—an altimeter. Elevation is our simplest and most consistent handrail. (A handrail is a feature, landmark, or elevation point that leads towards your destination.) Having our altimeter available at a quick glance frees us up to make a multitude of other decisions. It is probably the information I am seeking from a map most often because I use it to plot myself. I also use it to determine how fast I am moving up or down, and how big—in terms of relief—the terrain is that I’m moving through.

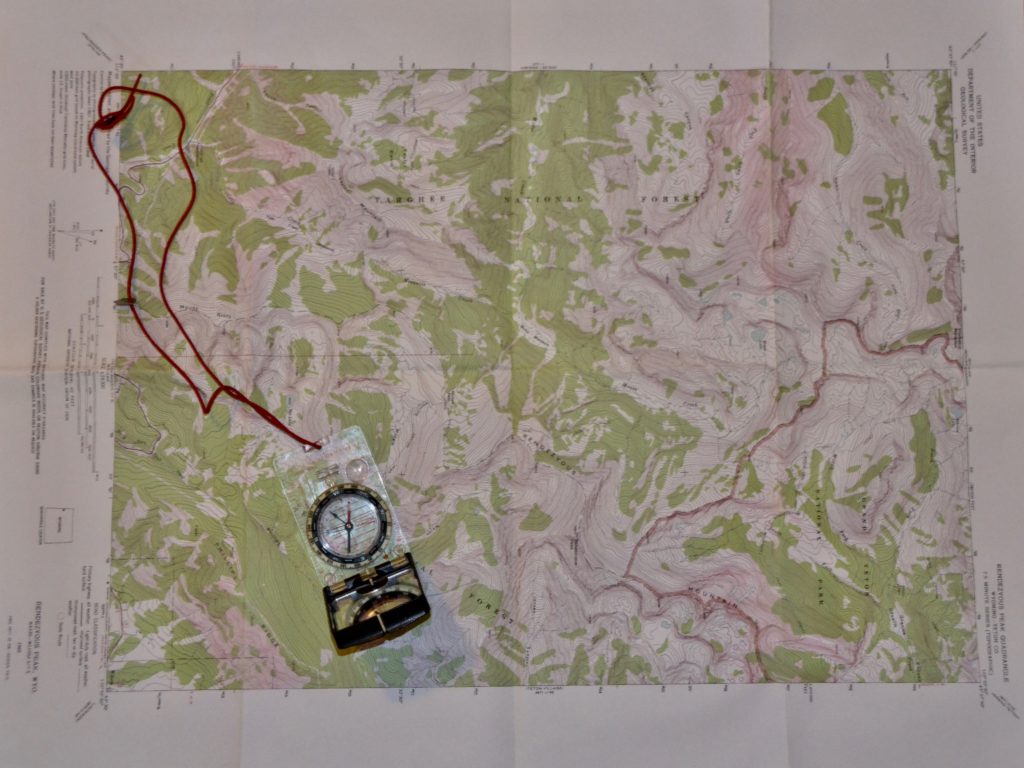
Task No. 3: Map your route prior to departure. Once all of our field tools have been calibrated and our field navigational skills are tuned up, it’s time to dive more deeply into home trip-planning. There is a plethora of modern mapping websites that can aid in this, and my advice is to focus on one of them and get efficient and proficient with it. Saddle up to your computer with a cold one (or three) and get to know a few tools that you can use to map a route prior to departure. (On CalTopo, navigate to the “add new object/line;” on Gaia GPS, go to “create route.”) Then pair this with the corresponding phone app, and you are in business. The tools available are endless, but the crucial ones are drawing waypoints and tracks, and using them to estimate distances and elevation loss and gain. Drop on some slope-angle layers and toggle the satellite imagery off and on to really learn the terrain. Memorize the landscape in satellite imagery and picture what it will be like to travel through that terrain. This will significantly help your navigation once in the field.

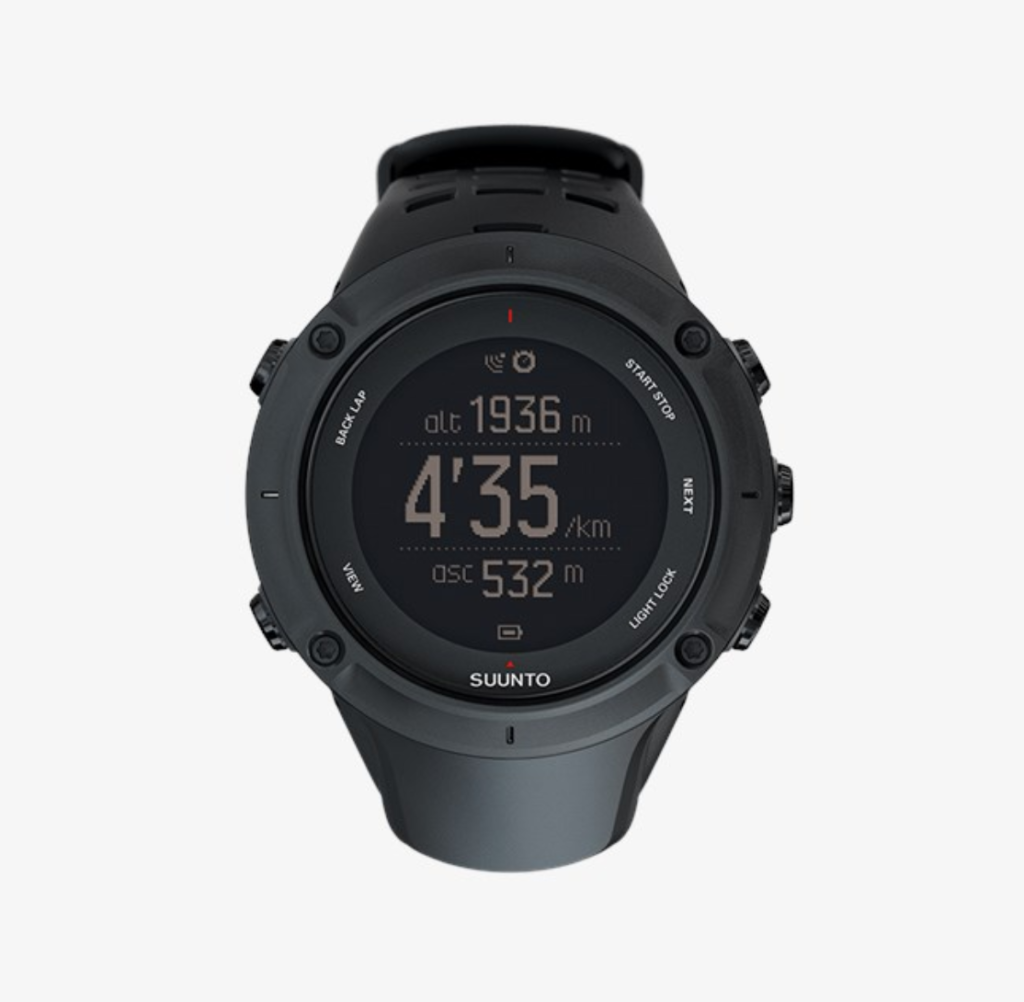
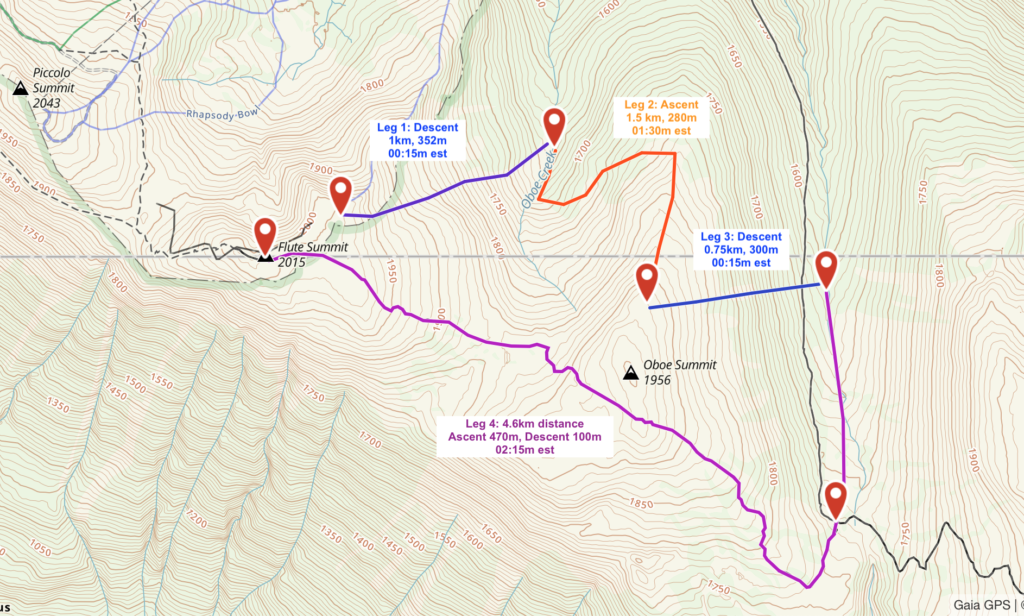
Task No. 4: Estimate the time it will take you to ski up or down through the mountains. When developing tour plans, you need to estimate how long each leg will take you. There’s an equation that Swiss guide Werner Munter developed that takes into account distance and vertical feet (time = distance (km) + elevation (m/100) / rate). There are also apps to ease the calculation, but the best way to figure it out is to apply your own experience. Keep track of the time it takes you to go 1,000 vertical feet in low-angle, medium-angle, and steep-angle terrain. Then look at your route on the map and estimate your likely travel time based on your historical average pace in similar terrain.

Task No. 5: Share your plans with your partners. When you have some tracks, way points, time estimates, and maps downloaded to your phone, share it all with your partners so you have multiple backups to your equipment. Make sure the batteries are charged, backup batteries are charged, and devices are being stored and used in accordance with your other safety gear.

Task No. 6: Evaluate your route after your return. Once you’re out there, track your tour for the day. Upload it when you get home, then sit back and play Monday morning quarterback to see where you made good choices, mistakes, made up time or lost it, and generally sent or botched it.

We all learn best from our mistakes, so edit your tracks to make the best route for the next time. And remember, keep at it, because you will only get better with time and practice.

Evan Stevens is an internationally certified guide and expert on cartography and geographic information systems. He worked for five years with the Utah Avalanche Center before moving to British Columbia, where he now guides, teaches, and oversees ACMG courses and exams. 

Related Posts

Loading...

Support The Powder Cloud

Support education and mentoring for all backcountry riders

We have a favor to ask of our backcountry community. Powder Cloud believes our educational content and journalism should be easily accessible to all backcountry riders. A majority of our content is free, and we strive to limit annoying distractions like blinking ads, paywalls and pop-up screens.

We need your support to sustain the work we and our contributors provide, and to help us develop new and exciting ways to educate our community.

With as little as $5, you can help our mission—to provide backcountry skiers and riders the mentorship they require to travel safely and find the happiness. It only takes a minute and we’re so grateful and appreciate you.